- Published on
My First Dive into Bitcoin Hardware Wallets: Trezor and Coldcard
- Authors

- Name
- Ourangzaib Khan
My First Bitcoin Hardware Wallets: Trezor + Coldcard & Thoughts
After years of reading about "not your keys, not your coins," I decided it was time to level up my Bitcoin security. I bought two respected hardware wallets: a Trezor (the sleek black one on the left in my photo, labeled L1) and a Coldcard (the calculator-style beast on the right).
Here's the setup shot that inspired this post:
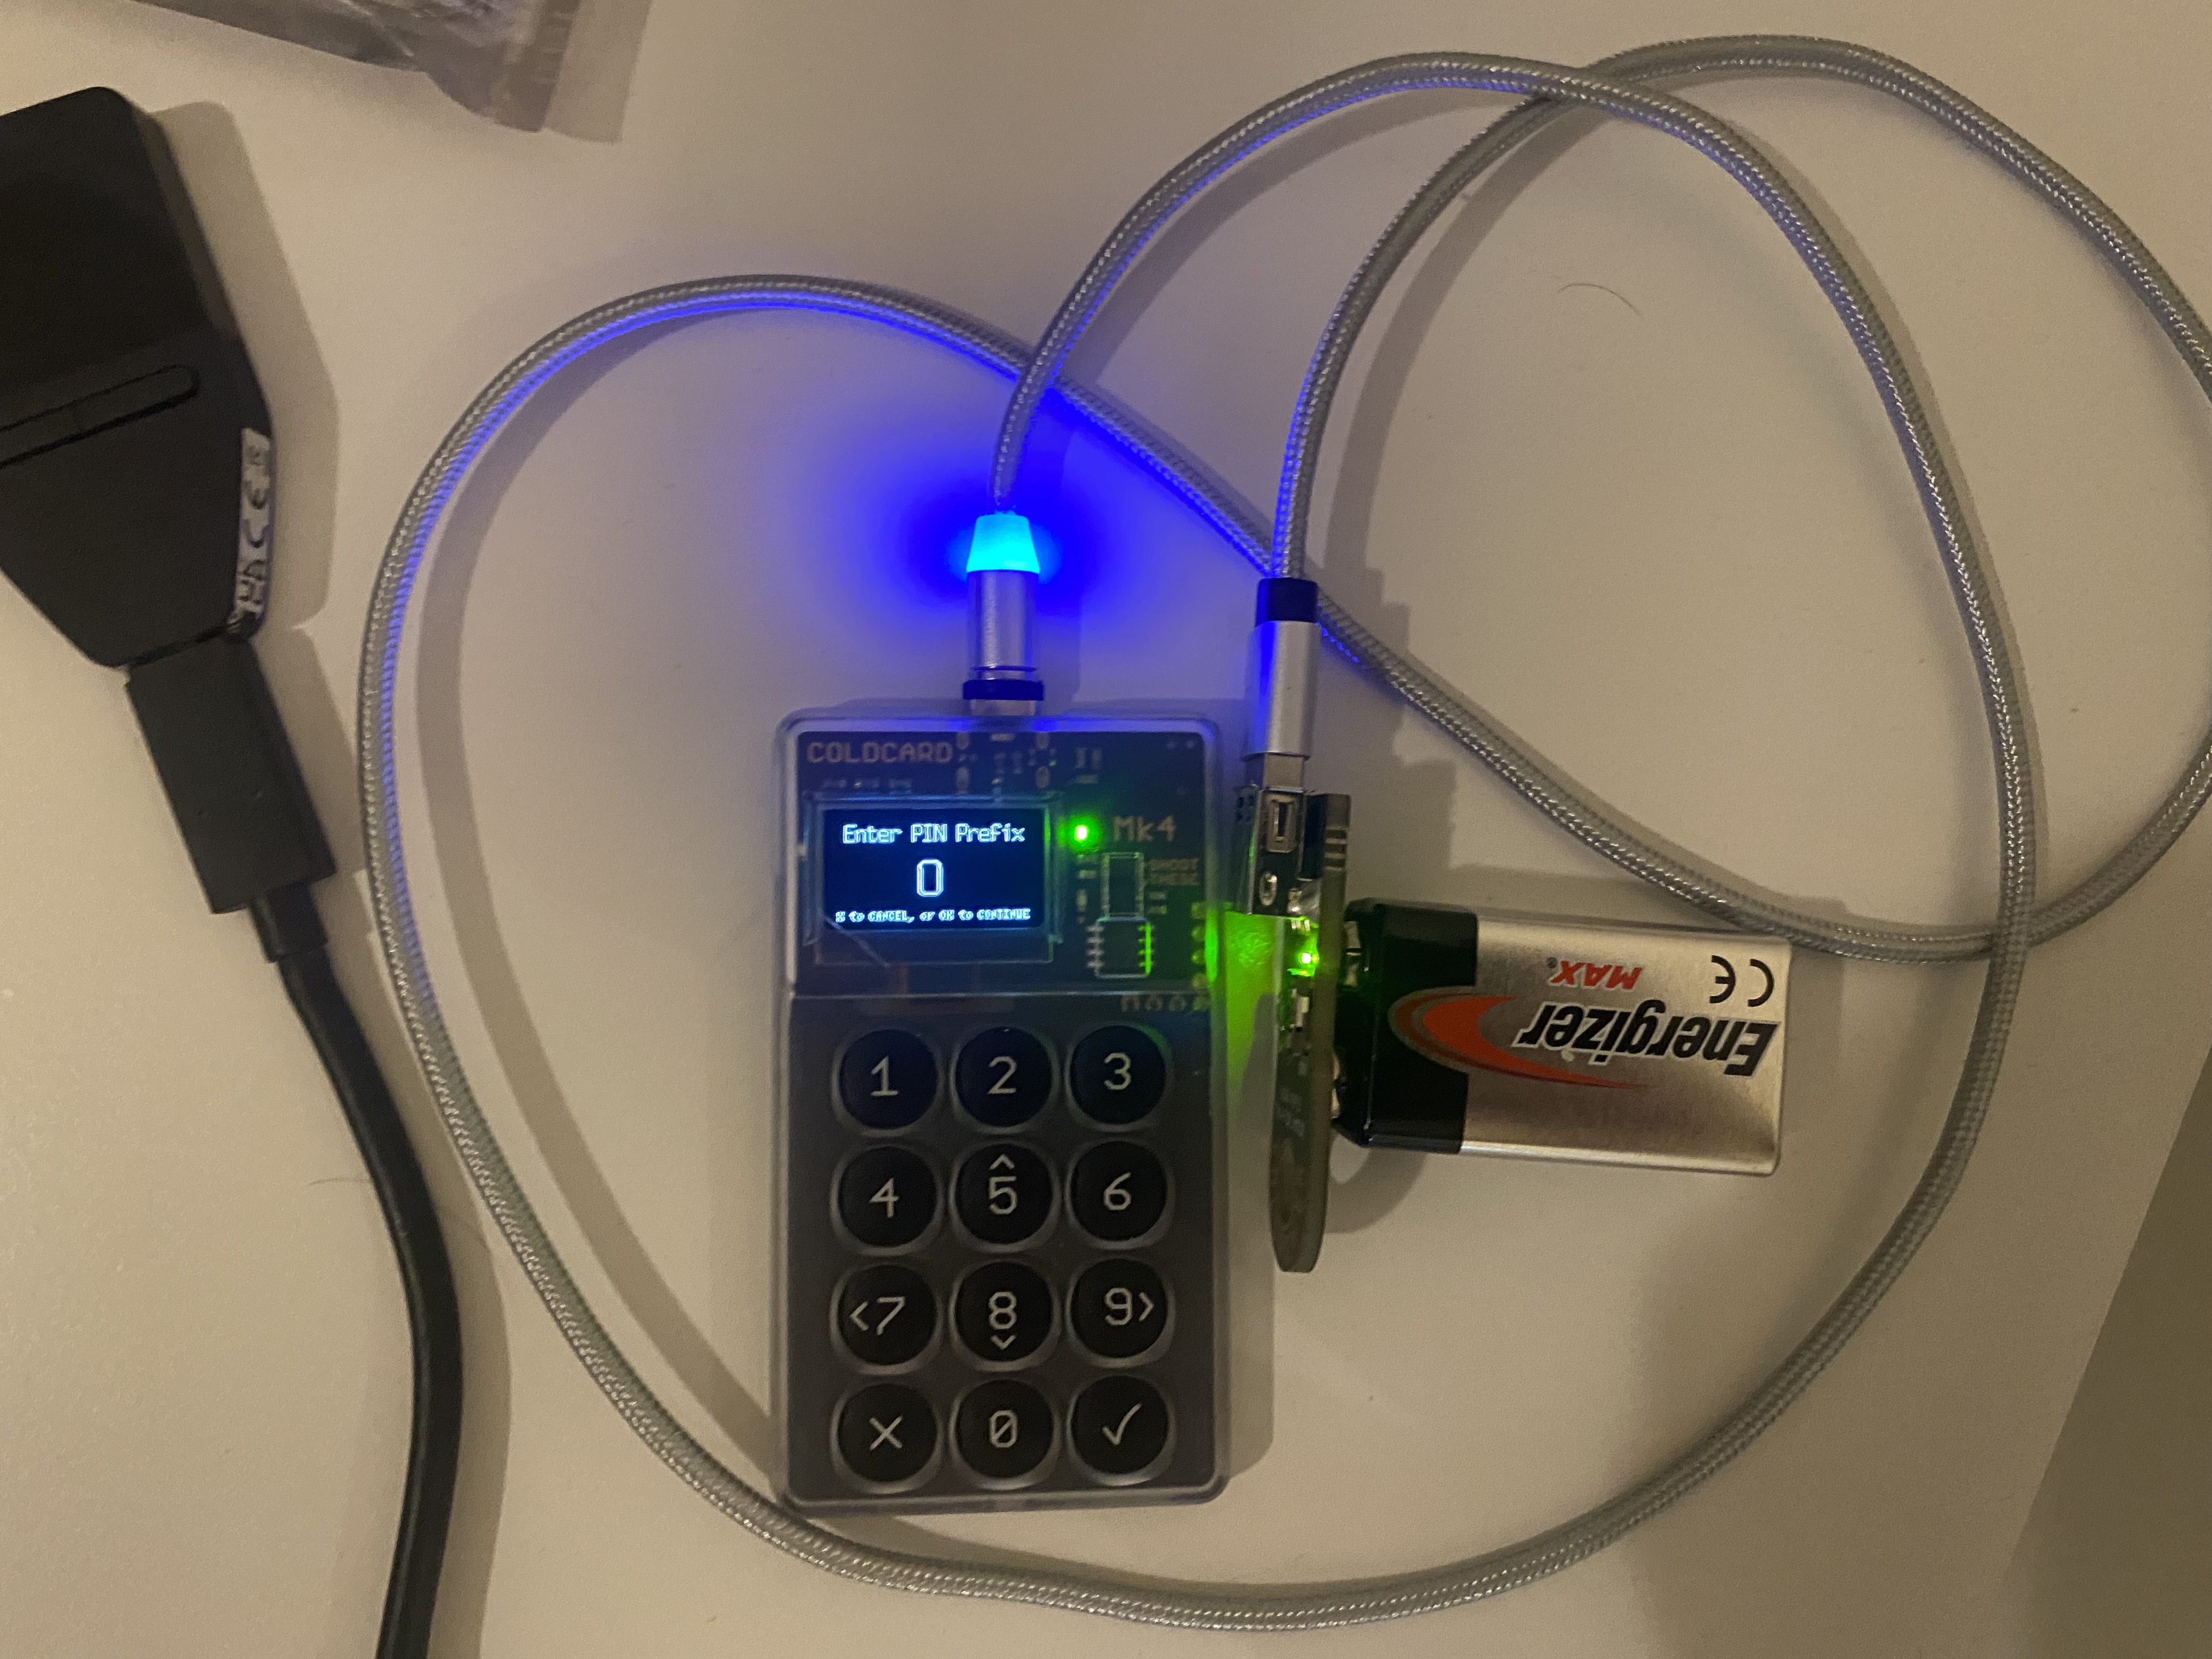
Left to right: Trezor device with its compact screen, USB cable, another Trezor variant or accessory, and the iconic Coldcard with numeric keypad and small display.
Why Hardware Wallets in 2026?
In a world of exchange hacks, phishing, and growing regulatory pressure, keeping Bitcoin offline (cold storage) is no longer optional for anyone holding meaningful amounts. Hardware wallets generate and store private keys offline, only signing transactions when needed.
I chose these two because:
- Trezor — Open-source pioneer, user-friendly, supports multiple coins (great if you ever branch out), and has a proven track record.
- Coldcard — Bitcoin-only, ultra-paranoid security (true air-gapped via MicroSD/QR/NFC), perfect for BTC maximalists who want maximum isolation.
the Trezor (My "L1")
The Trezor arrived in a minimalist box — clean branding, holographic seal for authenticity. Inside:
- The device itself: compact, black rectangular with a small color screen (likely Safe 3 or similar model line — touchscreen on higher models).
- USB-C cable.
- Quick start guide.
First setup was dead simple using Trezor Suite (desktop/mobile app):
- Connect via USB.
- Install firmware (takes ~2 minutes).
- Generate or recover seed (24 words, write them down offline!).
- Set PIN on-device.
- Done — ready to receive BTC.
Impressions: Super intuitive. If you're new to self-custody, start here. The interface is straightforward, and on-device confirmation prevents blind signing attacks.
The Coldcard
This one feels like holding a tiny fortress. The box emphasizes "Bitcoin-only" and security features. The device looks like a retro calculator: numeric keypad, small OLED screen, sliding protective cover.
Key items:
- Coldcard (Mk4 or Mk5 style — dual secure elements, NFC).
- USB-C cable.
- MicroSD card slot for air-gapped ops.
Setup is more involved (intentionally, for security):
- Power on, generate seed (dice rolls for true entropy if paranoid).
- Set strong PIN (anti-phishing words appear — genius anti-keylogger trick).
- Export XPUB via MicroSD or QR for watch-only wallet on Sparrow/ Electrum.
- Sign transactions offline via PSBT files on MicroSD or NFC tap.
Impressions: This is for serious HODLers. No Bluetooth, no unnecessary features — pure Bitcoin security. Air-gapped signing means your keys never touch an internet-connected computer.
Quick Comparison: Trezor vs Coldcard
| Feature | Trezor | Coldcard |
|---|---|---|
| Coins supported | 1000s (multi-coin) | Bitcoin only |
| Ease of use | Beginner-friendly | More advanced / technical |
| Screen | Color (touch on premium) | Monochrome OLED + keypad |
| Connectivity | USB-C | USB-C + MicroSD + NFC + QR |
| Air-gapped | Partial (needs connection) | Full (true offline signing) |
| Open-source | Yes | Yes |
| Best for | New users, multi-coin | Bitcoin purists, max security |
Both are excellent — I use Trezor for everyday ease and Coldcard for my long-term stack.
Final Thoughts
Stepping into hardware wallets feels empowering. No more trusting exchanges with life-changing money. My advice:
- Buy direct from official sites (trezor.io, coldcard.com/coinkite) to avoid tampered devices.
- Practice with tiny amounts first.
- Backup your seed securely (metal plates, multiple locations).
- Test recovery.
This is just the beginning — expect more posts on multisig, watch-only setups, and how I integrate these into daily use.
What hardware wallet are you using? Drop thoughts below!
Stay sovereign.
its